Showing posts with label DIY Projects. Show all posts

Saturday, October 29, 2011

DIY staining

I was so excited when I finally found the perfect dresser for our babies nursery... and before they came :). I swear I searched for months. I didn't change the color to much, but my goal was to make it look newer and not so worn looking and to fill the little pieces of wood on the bottom that you can see chipped off. This was my first time staining anything so I was a little nervous but luckily I'm addicted to pinterest :) and already had great tutorials to follow I used these two tutorials.....wood filler and staining. The first one I used only for tips on wood filler and the second I used the entire tutorial.
Here is what it looked like originally....
Supplies: 
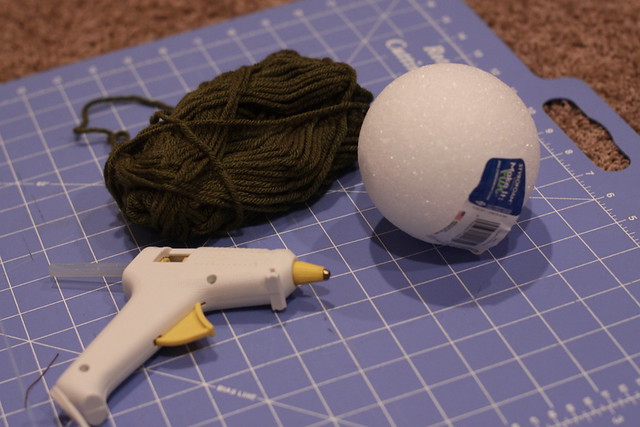
Mask (especially if you are pregnant)
Sander
80 grit sandpaper
Wood Filler
Minwax wood conditioner
Staining pads
Minwax gel stain (in the color you want)
Gloves

I'll give you the basics of what I did and if you want more details I would head over to the tutorials I referenced.
Step One Lightly sand the dresser. Unless you are staining it a lighter color you don't need to sand it that much. My dresser was delicate so I just took my mouse sander, with 80 grit sandpaper and just roughed up the surface a little.
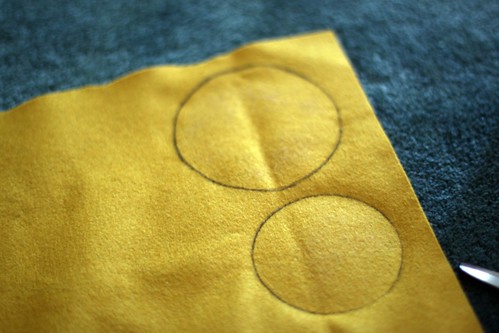
Step Two Put the wood filler in the chipped parts on the bottom and a couple of cracks on the top.
Step Three After I had let the wood filler dry for the recommended time I sanded it down so it was flush with the rest of the dresser.

Step Four Condition the entire piece
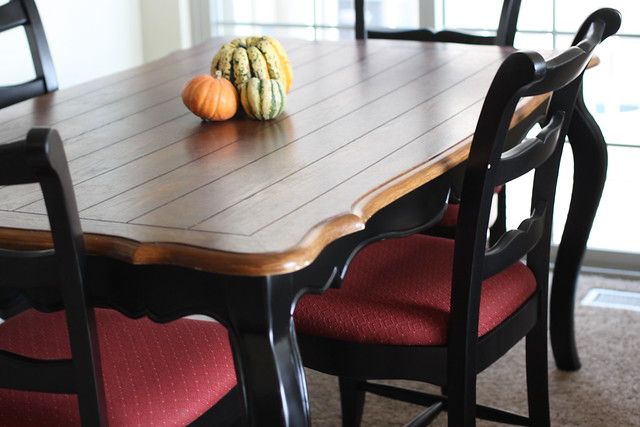
Step Five Rub on the stain. At this point I got really frustrated cause although the wood filler said it was stainable it was still very noticable. So I had to improvise. I would let the stain dry and then just do another coat only on the parts that I had filled. I probably filled the wood filler parts like six times. I just kept it in my garage and every eight hours or so I would take a small foam brush and only stain the small chipped parts. Once the wood filler areas were matching the rest of the dresser I did one final coat of the entire dresser and here is the result.....
Most people also change the knobs, but I loved the old fashion look of them and thought it would also be nice to save the money. I'm pretty happy with the results :) I am a perfectionist though and could tell you I almost re stained it because of certain parts but once put in the room you can't even hardly see those spots, Greg thought I was crazy to think of redoing it and he was right. So if you are like me let the little things go :). I am going to have to learn this eventually when I have two little munchkins running around my house, luckily for now I have Greg to remind me.  

Sunday, November 14, 2010

DIY Tree Ornament

I saw this cute yarn ornament at Joann's and thought it would go perfectly with our Christmas decor, so me trying to save money and be crafty :) I decided to make four for the same price instead of buying one. It was super easy. Here are the supplies...
I glued the first part of the string to the styrofoam ball and just wrapped it around randomly and glued the end piece on the top.  If you slightly loosen one of the pieces of string on the top that becomes your way to hang it on the tree.
Yay for Christmas!! So you are probably thinking it is not even Thanksgiving yet why have we already put our tree up :). Well I just couldn't wait any longer. Not only did we not decorate last year and so we need to make up for it :) , but I'm just ready for it all.... the christmas music, presents, stockings, lights, wreaths, ribbon, wrapping paper, christmas cards, snow.... doesn't it just make you giddy thinking of it all?
While we were decorating we had lots of fun pulling out all our old ornaments.  My sister, Lauren gave this one to me last year and I had forgotten about it...its my favorite. On the wings it says best sister :) miss that girl.

Saturday, November 6, 2010

On The Search For Fabric

I finished the table!! I was originally going to sand the chairs and table but it makes me nervous I'm going to ruin something and have to redo it so for now they are staying how they are. I'm just looking for different fabric for the chairs and my year long project will finally be done :) yay

Thursday, October 28, 2010

Autumn Center Piece

I saw this idea on Better Homes and Gardens, you should make one it is fast, free and I think it adds so much to our table. . On my way home from work I just pulled over grabbed some branches and put them in a vase I already had a home. We love our new little addition.

Sunday, October 10, 2010

Magnet Making

Last week Kels and I had a little craft night :). It was lots of fun to have her over. I love having family so close. We watched one of our favorite movies... Dan in Real Life and made magnets. We originally wanted to make the magnets with the round beads, but Michael's ran out and so our alternative was these square pieces of glass which I think turned out better. They are super easy. The materials we used were...
Mod Podge
Sponge Paintbrush
Glass Squares
Magnets
Scrap Paper
 While making these magnets I thought of another brilliant idea..making scrabble piece magnets. Wouldn't that be so fun to put little quotes up on the fridge and love notes to your hubby as he is walking out the door to work. I think it will be a cute little touch to our frige...so I added it to my long list of projects.

Sunday, August 15, 2010

Recreating An Outfit

I absolutely love emersonmade!!! And if  I could afford it I would buy so many things, but I can't.. so I decided to improvise and  I plan to recreate some of my favorite outfits from their website. Here is the first one I decided to conquer. I don't know if they sell the pants and shirt but their dandy flower is $38.00 and mine was $1.00. It was so easy to make.I have made two flowers. The last one I made was ten times easier and I think I like it more cause its flatter and isn't so bulky. Materials: Preferred color of felt, thread, needle, scissors (preferably fabric ones), pins for the back of the flower, fabric glue.
Trace about three or four different size circles....
I had to draw where I was going to cut because the first time I didn't and it didn't turn out so great....
After I was done cutting I cut a tiny piece of fabric off between each cut....
Then I sewed on the pin on the biggest circle...glued all the layers together and this was my result...
Third flower will be a charm because I like this way of making the flower better, but I want to use linen because it will be a little bit floppier. Sadly the store I went to they didn't have yellow linen.
Here is the first flower I made...
I didn't take picture of the process cause I used a tutorial I found online, but now I can't find it...sorry. With this I cut a long piece of fabric about 3 1/2 inches wide and like 3 feet long. I cut it like this... _|_|_|_|_ ( haha if that makes sense). Then when it was all cut I ran a piece of thread, not very tightly through the strip of fabric that we didn't cut into going in and out etc. . Then I tightened the fabric so it kind of rolled up. Put a piece of felt on the back with fabric glue and sewed on a pin. This one is cute from the front but it doesn't lay very good when you have it on your shirt.
If you are interested in making one and have questions don't hesitate to ask.  
Have Fun!!

Sunday, April 25, 2010

Is it Growing?

Our little deformed strawberry turned red!!
I don't know what it is though but all of my other plants either look like they aren't growing at all or they look like they are dying. What am I doing wrong? Maybe I'm just impatient :)

Tuesday, April 13, 2010

Our Little Deformed Strawberry

So since we have started our garden not much action has occurred...except this beauty. It is a little deformed,but I couldn't love it more. It gives me hope that I am doing something right.

Thursday, March 18, 2010

Our Garden

This past weekend my good friend Shannon has been helping me start a garden giving me all the tips and helping me make my potter box. I love it! Since we don't have a yard it was little difficult but we managed, and our porch is getting some good use. We are growing...
I am so excited. It reminds me of when we lived in Alaska and my mom would garden all the time, I miss those days. Since this is my first garden I'm not getting my hopes up on them surviving. The other day I came home and they had wilted a little and I almost shed a tear. If anyone has any tips on how to keep my garden healthy and strong please let me know, I love advice.
If you are new at this like me, here is what we did. We got compost or aged manure to be exact :). Shannon found some free compost on Craigs list and we got so excited.Greg was like "really you found FREE poop" haha. Lets be honest some people pay for that sutff. After we filled it mostly with compost then I put potting soil on the top. Planted them and I water them about everyday.

Saturday, January 30, 2010

Scrapbook Heaven

The other day my good friend from work, Shannon took me to scrapbook heaven :). I'm definitely not a serious scrapbooker and usually just go to Michael's or Johannes when I have a little project, but now that I have more time on my hands I have been getting more into it. I have recently had a desire to start making cards. So Shannon enlightened me that there is a MUCH better place to get cute paper and knick knacks. I was so excited. If it we hadn't gone on our lunch break I would have been there for hours. So I decided I wanted to make a few Valentines day cards to start off and made these.... I love them.

The store was in Mesa, Scrapbook etc. in case you want to stop by. One of the best parts about the store was that they give you awesome ideas. I will be honest I stole these ideas from samples they had. I also got the best idea for our Christmas cards next year I can't wait...:)